How to Make Bread on Your Fire Pit
Baking bread outdoors transforms a simple meal into a fun cooking experience filled with easy recipes for everyone. Picture the aroma of freshly baked bread mingling with the sounds of nature as you gather around your campfire.
This guide walks you through everything you need to embark on your outdoor baking journey, including essential equipment and supplies, and setting up your fire pit for that perfect bake. Whether you re a seasoned baker or just starting, you ll discover step-by-step instructions and valuable tips to create delicious sweet bread in the great outdoors.
Prepare to embrace the art of outdoor baking and living history!
Contents
Key Takeaways:
- Enjoy the unique experience of outdoor baking on your fire pit.
- Gather essential tools and ingredients before starting the bread-making process.
- Create the perfect fire and monitor the baking process for delicious bread every time.
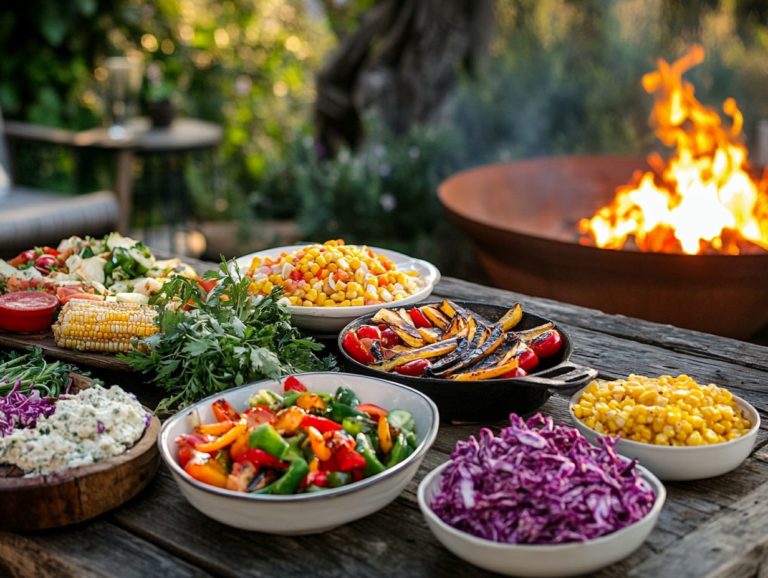
The Appeal of Outdoor Baking
The allure of outdoor baking enchants you, drawing families and communities together while honoring traditions that reach deep into history. Imagine the captivating flicker of a campfire and the delightful aroma of freshly baked bread filling the air outdoor baking sets a warm, inviting stage for your gatherings.
This unique experience makes a simple recipe unforgettable, strengthening family ties, especially with kids excited to get involved, while offering a variety of cooking methods.
Equipment and Supplies Needed
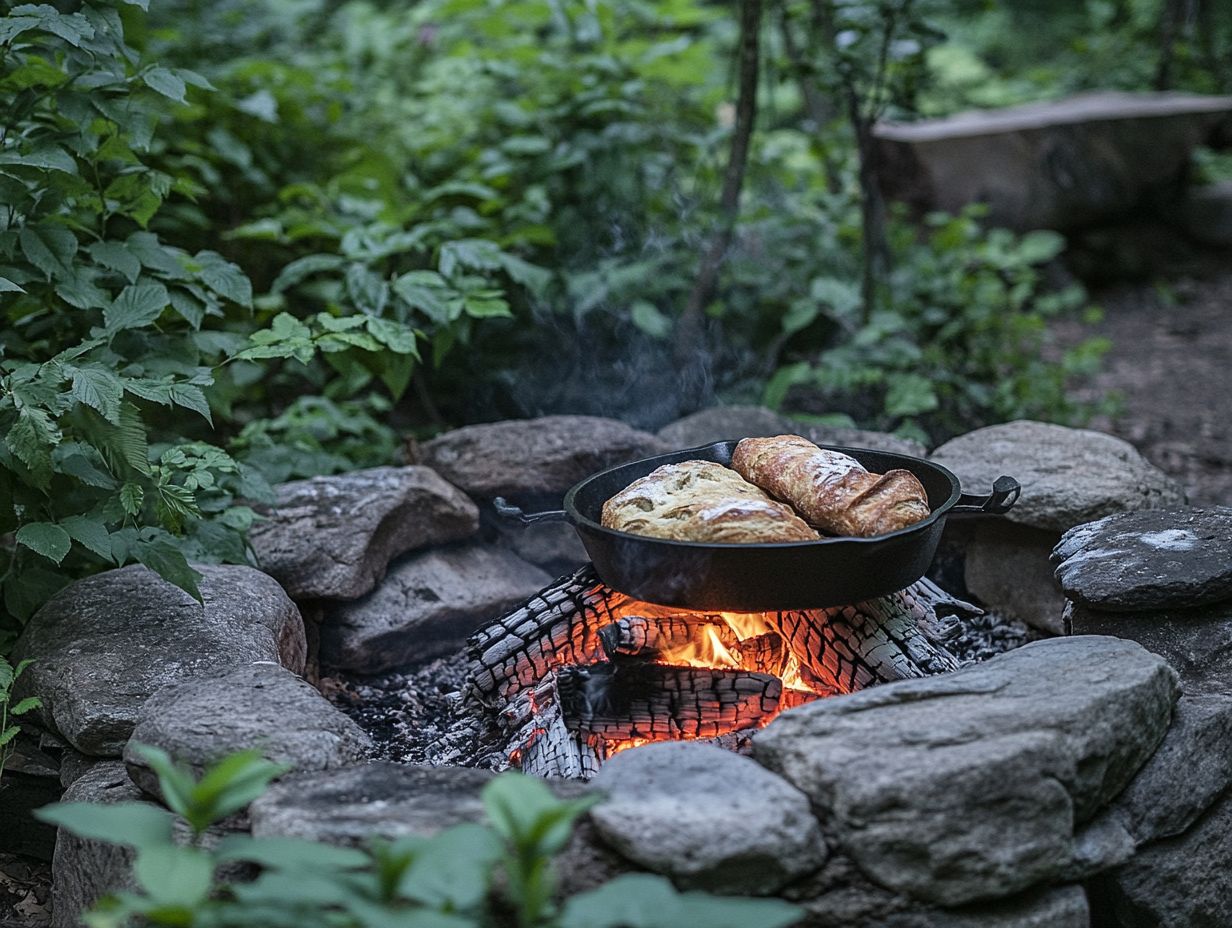
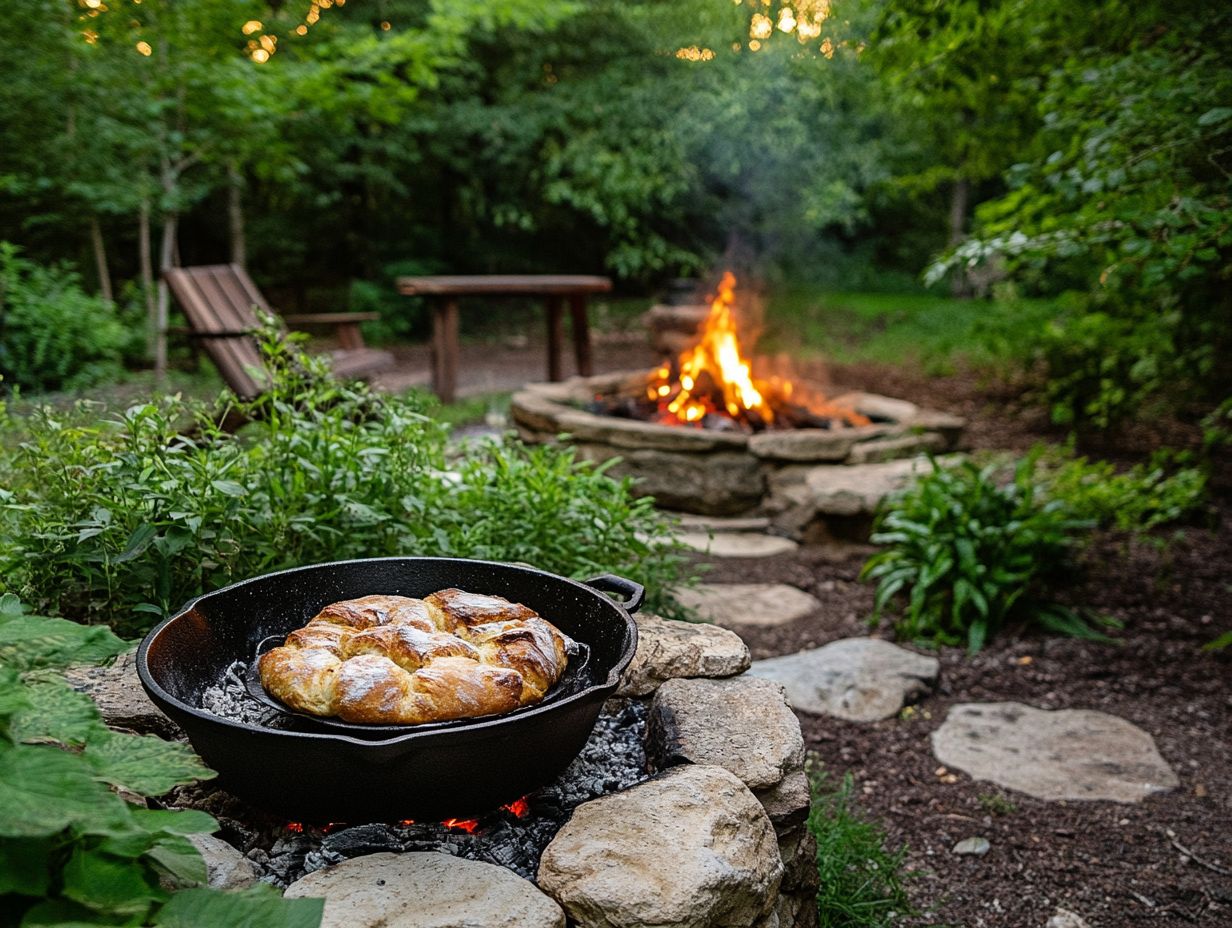
Ready to bake outdoors? Start by gathering your essential baking gear, like a heavy pot used for baking a Dutch oven. It’s perfect for crafting delightful sweet bread recipes that honor traditional cooking methods.
Essential Tools and Ingredients
Your essential tools and ingredients for outdoor baking include a sturdy Dutch oven, cooking sticks, and key ingredients that elevate simple mixtures into exquisite homemade bread. To create the perfect dough, understand the roles that butter, granulated sugar, active dry yeast, and flour play in achieving ideal texture and flavor.
Butter adds richness and moisture, ensuring your bread is tender, while granulated sugar enhances caramelization for a golden crust. Active dry yeast is vital for fermentation, allowing the dough to rise, while flour provides structure and substance, ensuring it rises perfectly.
By mastering the right proportions of these key elements, you can enhance your outdoor baking experience, making each loaf not only flavorful but deeply satisfying.
Preparing Your Fire Pit for Baking
Prepare your fire pit correctly to ensure even heat for perfect bread. This attention to detail guarantees that your outdoor bread emerges perfectly cooked and delicious, enhancing the experience for family and friends. For a fun twist, consider learning how to make camping pizza over a fire while keeping it enjoyable and safe.
Setting Up and Maintaining the Fire
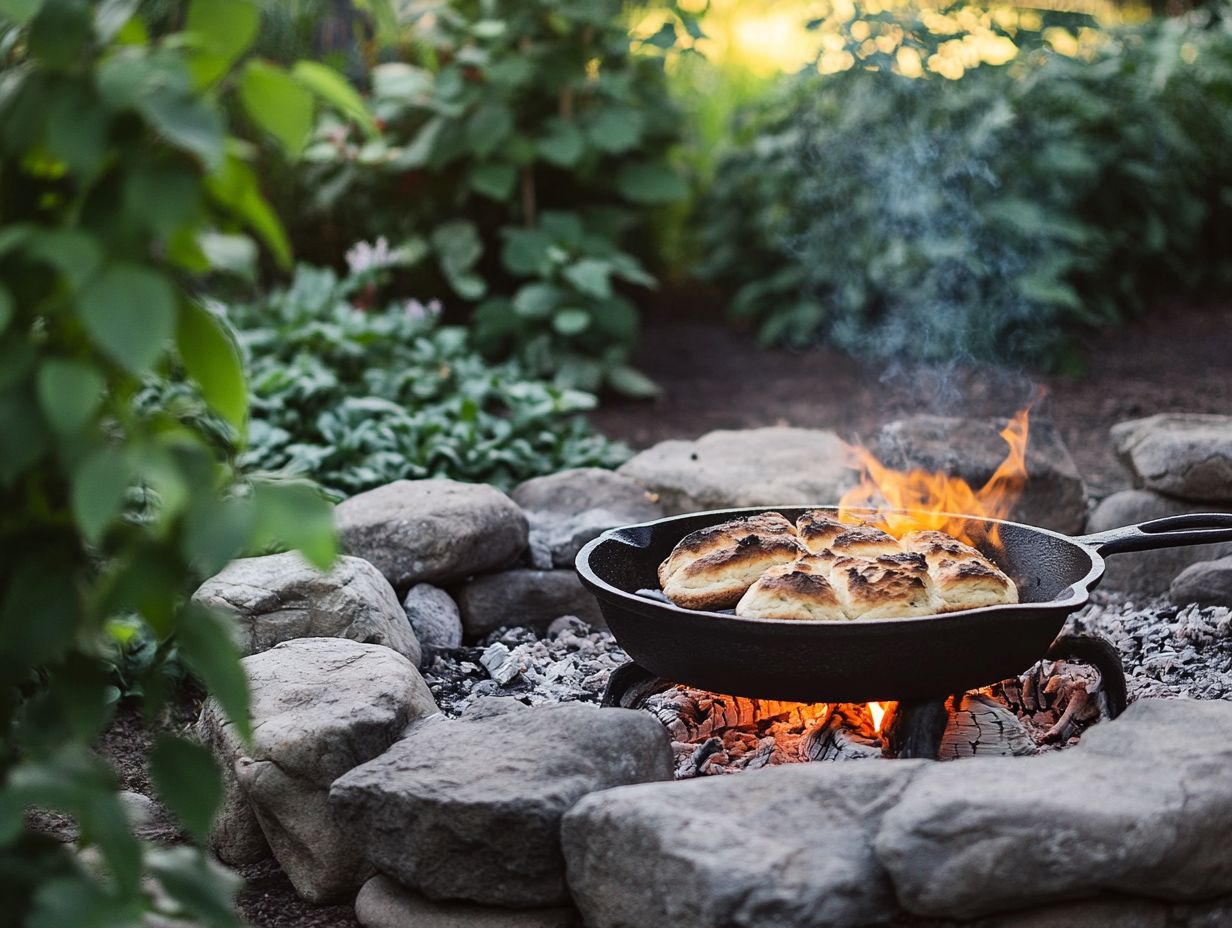
Setting up and maintaining the fire is crucial for a successful campfire cooking experience, allowing you to control the temperature for that perfect bake on your homemade bread. Start by choosing a clean, flat area away from overhanging branches safety first! Build a robust base using kindling, then layer it with dry firewood to establish a steady flame.
Once your fire is roaring, arrange cooking sticks at different heights to achieve the ideal heat for both baking and grilling. Keep a close eye on the temperature, adjusting the wood supply as necessary to maintain consistent heat, ensuring your outdoor cooking adventure is safe and satisfying!
Your Ultimate Guide to Bread Making!
The step-by-step bread-making process is a delicate blend of art and science. It invites you to engage in critical stages like mixing, kneading, fermentation, and baking.
Each phase plays a vital role in crafting the perfect sweet bread that delights everyone who tastes it.
Mixing and Kneading the Dough
Mixing and kneading the dough are essential steps that determine the texture and flavor of your bread. Achieving the right balance between ingredients and techniques is vital for proper fermentation.
Every ingredient you choose plays a crucial role. For instance, the right ratio of flour to water significantly affects moisture in the dough. Maintaining an optimal temperature during this process helps activate the yeast effectively.
When mixing, remember to incorporate air into the dough; this aids in gluten development, contributing to the final structure. Kneading should be approached with care, ensuring the dough is smooth and elastic for better gas retention during fermentation.
Don t forget to let the dough rest adequately. This fermentation period is where the flavors develop and the texture transforms, leading to a superior loaf.
Baking and Monitoring the Bread
Baking and closely monitoring your bread throughout the process is essential for achieving that perfect crust. This ensures your sweet bread is cooked to the ideal internal temperature, ready to be served with pride.
To master this delicate balance, pay careful attention to the color and texture of the loaf as it bakes. Use visual cues to gauge its doneness. Optimal cooking times vary depending on the type of dough and the efficiency of your oven. It s crucial to rely on both a timer and a thermometer.
Generally, a well-calibrated oven bakes sweet breads at around 350 F for 25 to 40 minutes. Keeping an eye on that golden-brown crust and ensuring an internal temperature of 190 F can make the difference between good and exceptional.
You can also gently tap the bottom of the loaf to check for a hollow sound. This offers valuable insight into whether your bread is ready to cool and be savored.
Tips and Tricks for Perfect Fire Pit Bread
When it comes to baking the perfect fire pit bread, having a selection of tips and tricks can elevate your outdoor cooking experience. Check out this guide on how to prepare your fire pit for cooking to help you adapt and impress everyone around the fire!
Adjusting for Different Types of Bread
Adjusting your baking methods for different types of bread opens up delightful variations in flavor and texture. This ensures your outdoor baking remains versatile and enjoyable for everyone involved.
Take sweet bread, for example, which often involves using rich ingredients like chocolate spread. It s beneficial to incorporate richer ingredients like eggs and butter. These enhance moistness and create that tender crumb everyone loves. Sweet breads might also demand a slightly longer rising time for that perfect fluffy texture.
On the flip side, traditional recipes like rustic sourdough lean heavily on a prolonged fermentation process to develop those complex flavors that make them irresistible.
By grasping these nuances, you can fine-tune your techniques to accommodate specific dough requirements. This ensures each loaf meets and exceeds expectations, delighting anyone fortunate enough to savor your creations.
Alternative Methods for Outdoor Bread Making
Exploring alternative methods for outdoor bread making can elevate your culinary adventures.
You ll discover creative techniques that cater to diverse tastes and preferences. Embrace the enchanting charm of campfire cooking!
Dive into the exciting world of outdoor baking!
Exploring various outdoor baking techniques opens up a delightful realm of options. You can experiment with recipes that elevate your campfire cooking experience.
Try Dutch oven baking, a heavy pot that cooks food slowly and offers incredible versatility. You can create everything from crusty bread to rich, savory stews.
Another innovative method is using a campfire skillet. It s perfect for whipping up pancakes or frittatas right over the flames!
Don t overlook the charm of foil packet recipes. Mix your favorite ingredients, wrap them tightly, and place them near hot coals. This method makes tasty baked goods and requires little cleanup!
Each technique enhances flavor and sparks creativity. It turns outdoor baking into an exciting adventure, connecting you with nature while indulging in mouthwatering treats.
Frequently Asked Questions
What ingredients do I need to make bread on my fire pit?
To make bread on your fire pit, you will need:
- Flour
- Water
- Yeast
- Salt
- Additional flavor ingredients like herbs or cheese
What type of fire pit is best for making bread?
Any fire pit can work, but a flat and sturdy cooking surface like a cast iron griddle or stone is ideal for even heat distribution.
Can I make bread on an open flame fire pit?
Yes, you can make bread on an open flame fire pit. It may require more attention and frequent turning of the dough to ensure even cooking.
How do I cook the bread on my fire pit?
To cook bread on your fire pit:
- Shape the dough into a flat, round loaf.
- Place it directly on the hot cooking surface.
- Cook for about 10-15 minutes on each side until golden brown and cooked through.
Can I add toppings to my fire pit bread?
Yes! You can add toppings such as:
- Olive oil
- Garlic
- Herbs
Feel free to add toppings like cheese or dried fruit after the bread is cooked, too!
How do I know when the bread is done cooking on my fire pit?
Test if the bread is cooked by:
- Tapping on the top of the loaf if it sounds hollow, it s done.
- Using a food thermometer to check the internal temperature, which should be around 200-210 F.