5 Ways to Make Your Grill Marks Stand Out
Grill marks are not merely a visual delight; they signify a level of culinary mastery that can truly elevate your grilling experience.
To ensure your grill marks shine, consider these five essential tips, covering everything from preparing your grill to selecting the perfect grate.
You’ll explore the importance of those flawless lines, identify common pitfalls that could compromise them, and discover innovative plating ideas that showcase your skills.
Prepare to impress your friends and family with your newfound grilling prowess!
Contents
- Key Takeaways:
- 1. Clean Your Grill Thoroughly
- 2. Preheat Your Grill to the Right Temperature
- 3. Use the Right Type of Grill Grate
- 4. Oil Your Grill and Food
- 5. Don’t Move Your Food Too Much
- Why Are Grill Marks So Important?
- Frequently Asked Questions
- 1. What are the five ways to make your grill marks stand out?
- 2. Why is using high heat important for achieving bold grill marks?
- 3. How does oiling your grill grates make a difference in achieving perfect grill marks?
- 4. What is a grill press and how does it help in creating standout grill marks?
- 5. Is flipping food only once really necessary for achieving standout grill marks?
- 6. How can using a well-seasoned grill improve the appearance of your grill marks?
Key Takeaways:
- Clean your grill thoroughly before and after use to prevent unwanted flavors and ensure even grilling.
- Preheat your grill to the right temperature, as different types of food require different heat levels for perfect grill marks.
- Choose the right type of grill grate, such as cast iron or stainless steel, for the best grill marks.
1. Clean Your Grill Thoroughly
Cleaning your grill thoroughly is essential. It keeps your food’s flavors pure and clears away residue from previous sessions.
A well-maintained grill not only enhances flavor presentation but also extends the lifespan of your grilling equipment.
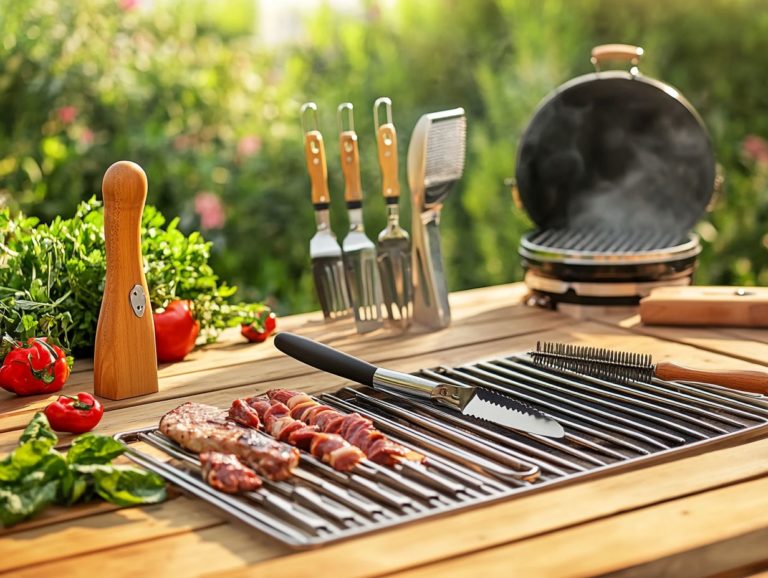
To achieve this, it s vital to employ a variety of cleaning techniques. Scrubbing the grates with a stiff brush and using a mixture of vinegar and baking soda can effectively tackle stubborn grease and residue.
Investing in quality cleaning tools, such as grill cleaners specifically formulated for different materials, can streamline the process significantly. Regular maintenance promotes better grill marks and elevates the overall flavor of your dishes.
Get your grill ready, and watch as every sear transforms into a masterpiece, ensuring every bite is as delicious as you intended.
2. Preheat Your Grill to the Right Temperature
Preheating your grill to the perfect temperature is crucial for achieving top-notch grilling results, whether you’re firing up a gas grill or a charcoal kettle. This step ensures exceptional heat retention and sets the stage for effective cooking.
By bringing the grilling surface to an ideal temperature, you significantly cut down on cooking time, leading to quicker meal preparation while enhancing the overall quality of your meat.
Aiming for around 450 F is ideal for searing succulent steaks, while a slightly cooler 350 F is perfect for more delicate options like fish.
To confirm that your grill is adequately preheated, look for consistent heat and a gentle shimmer on the grilling surface this tells you it s ready to go. Strategically placing your food at different points on the grill helps achieve perfect sear marks while avoiding the pitfalls of undercooking or overcharring.
3. Use the Right Type of Grill Grate
Choosing the right grill grate is essential for elevating your grilling game. Materials like cast iron and aluminum come with distinct heat retention properties that can significantly influence your grilling results.
Understanding these properties allows you to optimize your cooking techniques. Cast iron grates are fantastic at holding heat, providing that perfect sear for your meats, while aluminum grates are lighter and heat up quickly ideal for those spontaneous grilling sessions.
Your choice of grate not only affects cooking times but also enhances flavors. For instance, a porcelain-coated grate makes cleanup a breeze and helps maintain consistent temperatures, resulting in beautifully cooked food.
When selecting a grill grate, consider the type of food you plan to prepare. Different materials can either enhance or diminish flavor. If you enjoy grilling vegetables, a stainless steel grate might be your best bet; its durability and resistance to higher cooking temperatures ensure that you get the most out of your grilling experience.
Get grilling now and impress your guests with mouthwatering dishes!
4. Oil Your Grill and Food
Applying an oil coating to both your grill and food is essential. It prevents sticking, enhances flavor, and adds elegance to your grilled dishes.
Choosing the right type of oil is key; options like olive oil, avocado oil, and grapeseed oil can handle high temperatures while imparting delightful flavors. When you oil the grill surface, you create a protective barrier, minimizing direct contact between your food and the grates.
This not only ensures even cooking but also results in those stunning grill marks we all love. This technique transforms your cooking by allowing better heat control and elevating the presentation of your food with those enticing charred lines.
For the best results, grab a brush or a paper towel to apply a thin layer of oil to the grill before preheating, and give your food a light coating for that extra touch of moisture and flavor.
5. Don’t Move Your Food Too Much
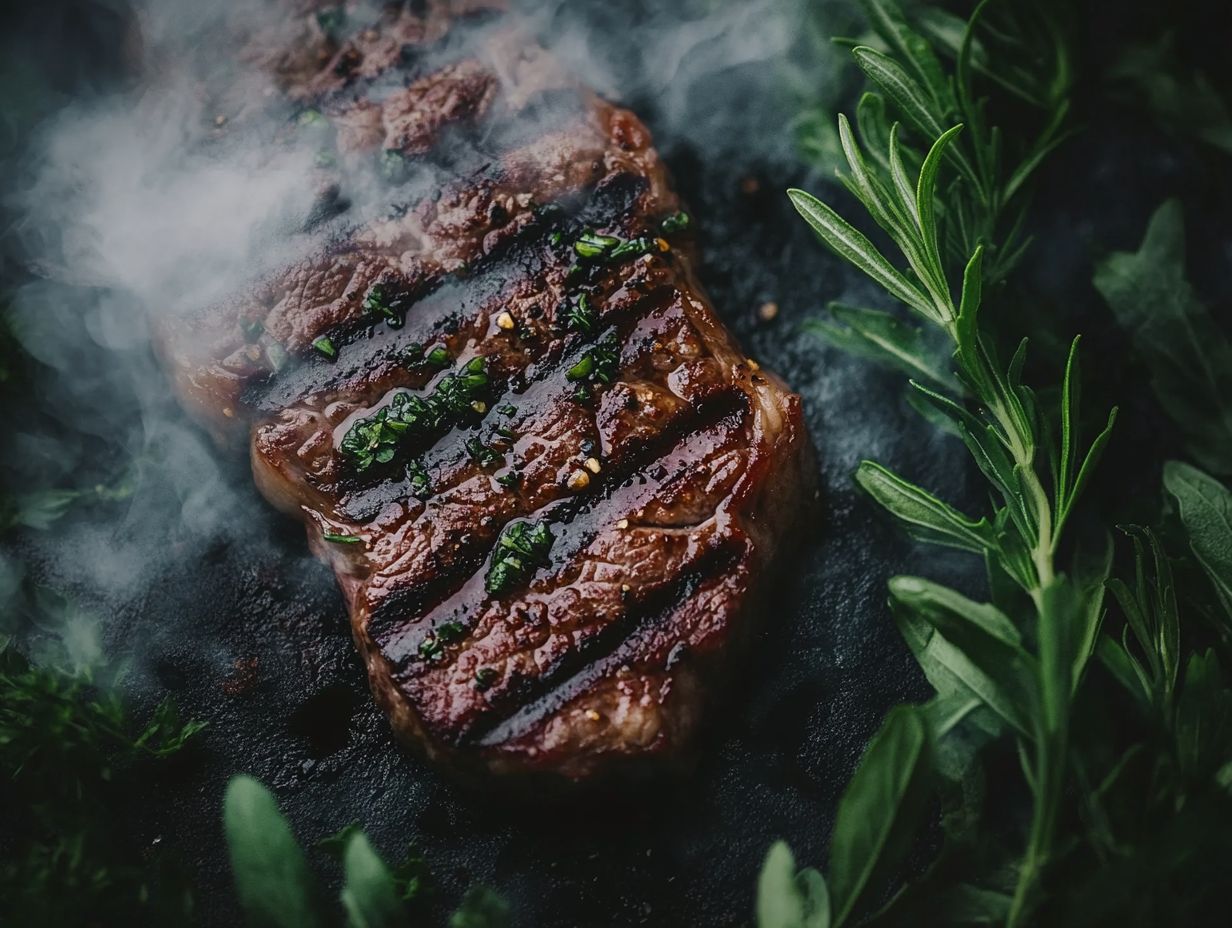
One key strategy is to resist the urge to move your food around too much on the grill. Doing so can disrupt the formation of those coveted grill marks and hinder the perfect grilling patterns that enhance both flavor and presentation.
When you allow your food to sear undisturbed, it develops those signature grill marks that signal a perfectly cooked dish and achieves a rich, caramelized exterior that locks in juiciness and flavor. The Maillard reaction, which occurs when heat causes proteins and sugars to react, creates a delicious crust.
For optimal results, thicker cuts of meat, like a ribeye steak, should remain undisturbed for about 4-5 minutes per side. Meanwhile, thinner options such as chicken breasts typically need just 3-4 minutes per side. By understanding and respecting these ideal cooking times, you can significantly elevate the quality of your grilled creations.
Why Are Grill Marks So Important?
Grill marks are not merely for show; they testify to your grilling prowess, signaling the perfect techniques that create a stunning visual appeal while enhancing the flavor of your meals. They make your dishes look as delightful as they taste.
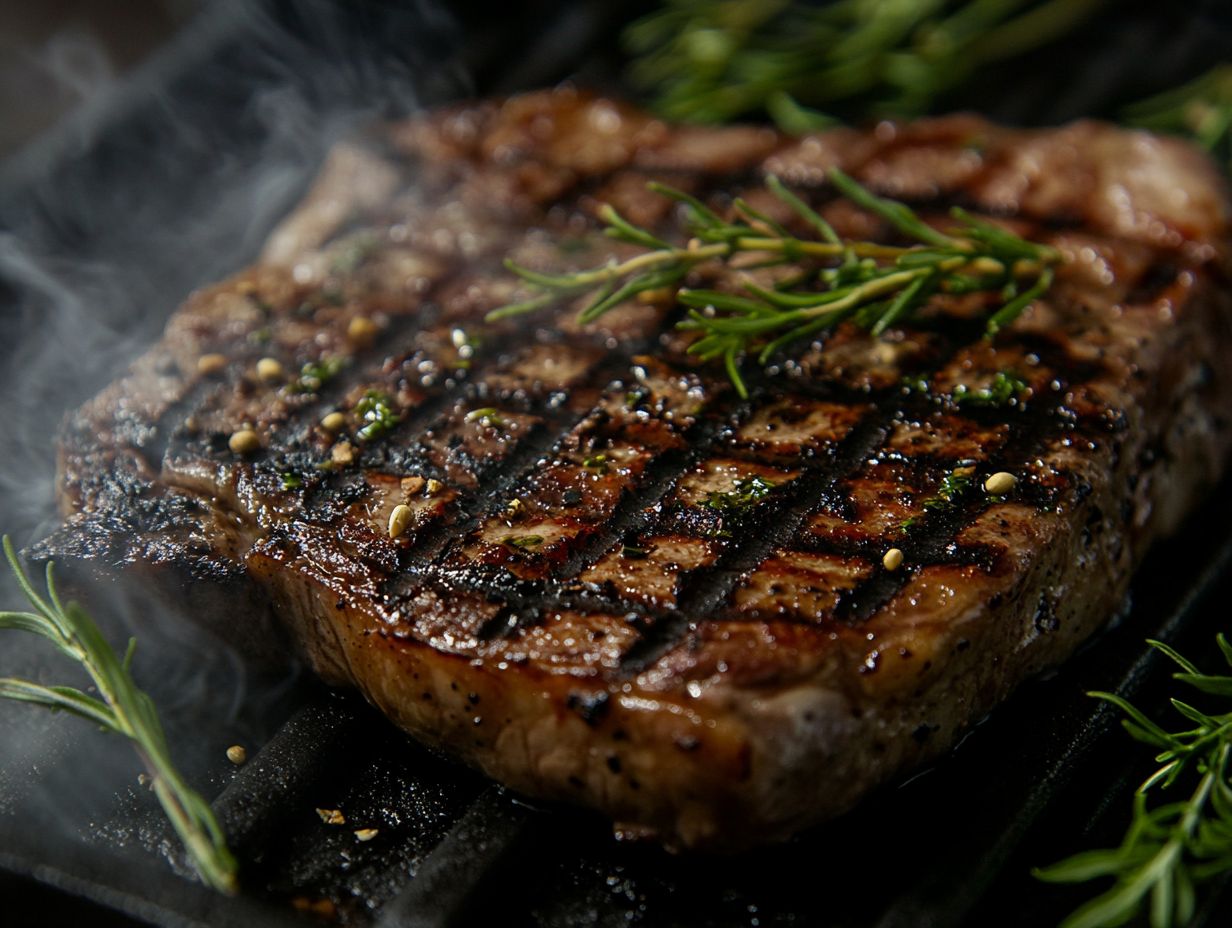
These iconic charred lines tell the discerning eye that your meat has been seared at just the right temperatures, resulting in caramelization that boosts both flavor and juiciness. For those passionate about grilling, the sight of these marks can reliably indicate doneness, ensuring your meat is cooked to perfection.
Whether you re using traditional charcoal methods, gas grills, or modern smoking techniques, expertly placed grill marks can transform an ordinary steak or chicken breast into something extraordinary, inviting your diners to indulge in both the visual and culinary experience.
What Are the Different Types of Grill Marks?
You can achieve various types of grill marks through different grilling techniques, with diamond grill marks standing out for their aesthetic appeal and their knack for showcasing expertly grilled food.
These distinctive patterns not only please the eye; they indicate that you ve mastered the art of grilling. The way you place food on the grates dramatically influences the type of marks you produce. For example, rotating the food 90 degrees during cooking is the secret to those eye-catching diamond shapes.
The cooking method whether you re using direct or indirect heat plays a crucial role in achieving successful grill marks. If you’re aiming for defined marks on chicken breasts, it s wise to dry the surface beforehand and avoid overcrowding the grill.
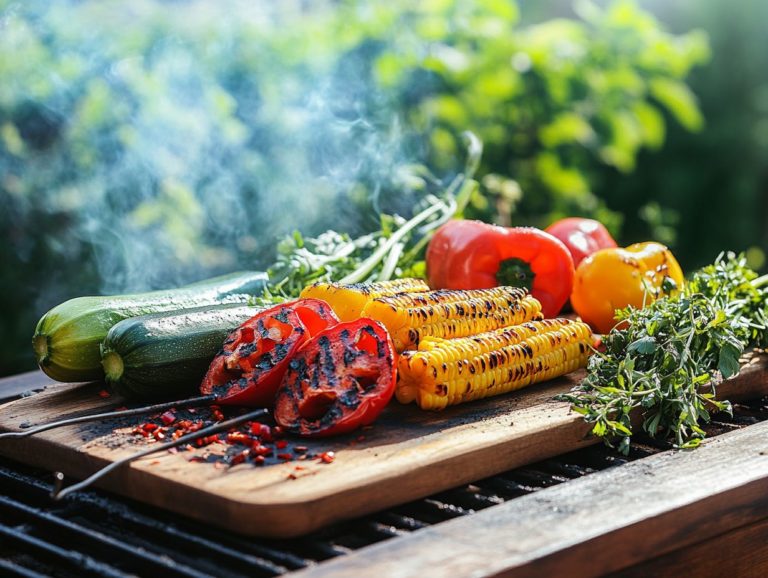
Conversely, when grilling vegetables like zucchini, ensuring a well-oiled surface can help you achieve those attractive lines, elevating your dish’s presentation to new heights.
Try these tips at your next BBQ and impress your guests with your grilling skills!
What Are Some Common Mistakes That Ruin Grill Marks?
Many grill enthusiasts unknowingly fall into common traps that can ruin the desired grill marks. These include neglecting to preheat the grill properly, overcrowding the grilling surface, and flipping the food too often.
These missteps not only detract from the visual allure of your grilled creations but can also compromise their flavor. Allowing the grill to reach the optimal temperature before placing any items on it is essential; a well-preheated grill ensures that your food clings to the grates and develops those enticing markings.
Maintaining a spacious grilling area and resisting the urge to flip too frequently allows for even cooking, enhancing the overall texture. By mastering these vital grill management techniques, you’ll wow your guests with stunning grill marks!
How Can You Achieve Perfect Grill Marks Every Time?
Achieving perfect grill marks every time requires careful attention to technique. From the precise food placement on a well-preheated grill to utilizing high heat, you can create those coveted patterns.
- Start by ensuring your grill reaches a high temperature, ideally between 450 F and 500 F. This level of heat is crucial, as it sears your food while locking in moisture and flavor, creating a masterpiece on your plate.
- When positioning items like steak or chicken, place them at a 45-degree angle to the grates for an aesthetically pleasing presentation. Remember to flip them halfway through cooking for those iconic diamond shapes that everyone loves.
- For vegetables, consider using a grilling basket to prevent losing pieces between the grates while still achieving that delicious char that elevates any dish.
Keep your eye on the clock timing is everything! Generally, steaks require about 6-7 minutes per side, while veggies may only need around 3-4 minutes per side, depending on their thickness.
By following these guidelines, you’ll be well on your way to creating stunning grill marks that not only please the eye but also enhance the overall dining experience, especially when you explore 5 ways to spice up your grilled chicken.
Get ready to grill like a pro and impress your friends at your next barbecue with perfect grill marks!
What Are Some Creative Ways to Use Grill Marks in Plating?
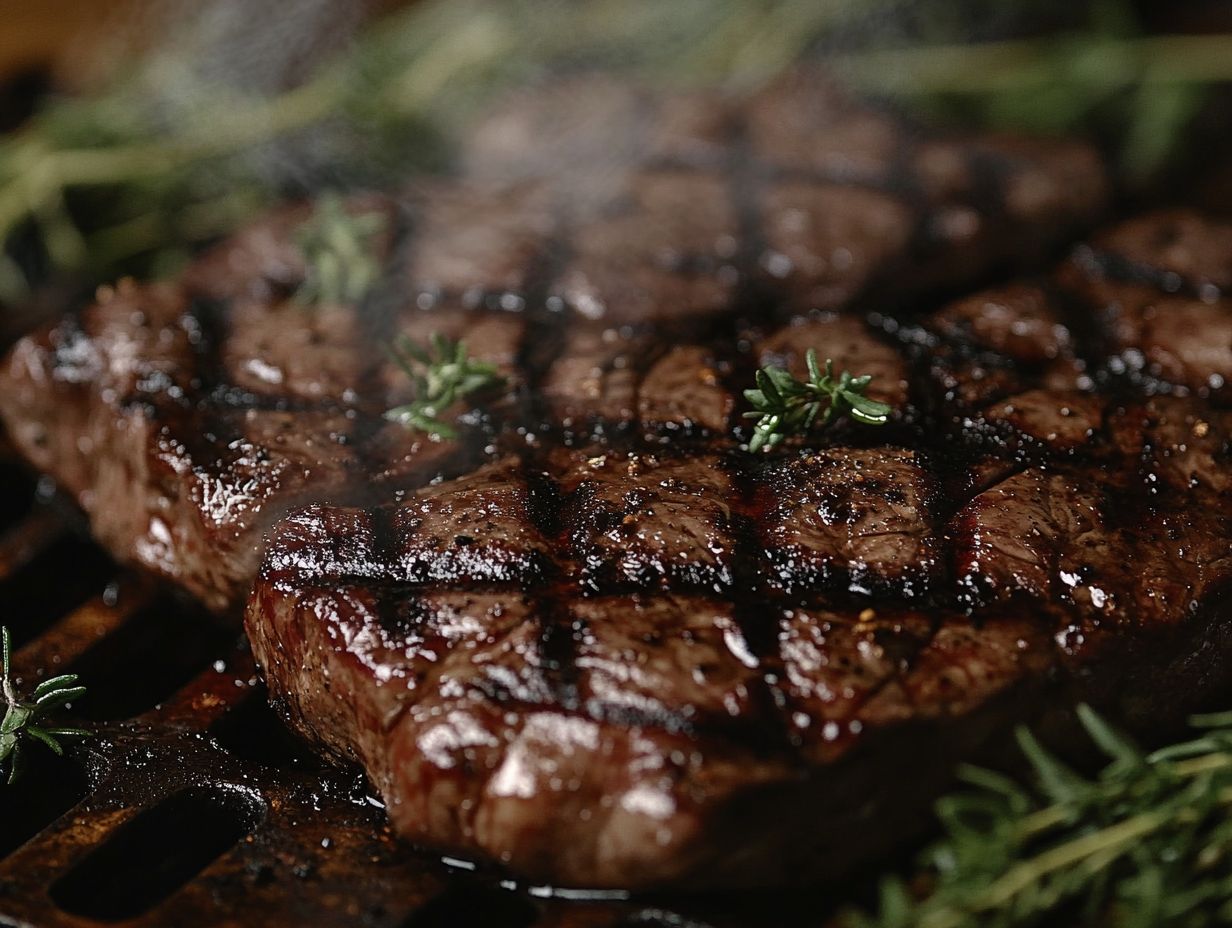
Grill marks do more than pretty up a plate; they can take your food presentation to the next level! They enhance both the visual appeal and the flavor profile of your dishes.
These eye-catching patterns can transform an ordinary dish into a true masterpiece. Picture diners mesmerized the moment their plates arrive!
To highlight these marks, angle grilled steaks or vegetables creatively. Adding fresh herbs brings a vibrant splash of color that makes your dish pop.
Imagine a perfectly grilled chicken breast with a dollop of compound butter and sprigs of rosemary. This presentation showcases the alluring grill marks and harmonizes flavors beautifully!
Try these techniques to wow your guests and ensure they have a truly memorable dining experience.
How Can You Clean Your Grill Grates to Maintain Perfect Grill Marks?
Proper grill cleaning is essential for maintaining your grill grates.
This ensures perfect grill marks during every grilling session, whether you use a gas grill or a charcoal kettle.
By employing effective cleaning techniques, you can prevent gunk buildup, which diminishes the flavor of your grilled creations and interferes with cooking.
Make sure to use the right tools like a sturdy grill brush or a scraper tailored to your specific grate material, such as cast iron or aluminum.
Enhancing your efforts with natural methods, such as vinegar and baking soda, promotes a healthier cooking surface.
Well-maintained grates boost heat retention, resulting in faster cooking and beautifully defined grill marks that add visual appeal and flavor to meats and vegetables alike.
Using an oil coating will enhance your grilling experience.
Frequently Asked Questions
1. What are the five ways to make your grill marks stand out?
- Use high heat
- Oil your grill grates
- Use a grill press
- Flip your food only once
- Use a well-seasoned grill
Incorporating proper seasoning, like Kosher salt or finishing salt, can also enhance the flavor.
2. Why is using high heat important for achieving bold grill marks?
High heat allows for a quick sear, creating distinct grill marks on your food.
It also helps lock in flavor and juices, resulting in a more delicious dish. Knowing some grilling techniques makes achieving bold grill marks easier.
3. How does oiling your grill grates make a difference in achieving perfect grill marks?
Oiling your grill grates creates a non-stick surface. This prevents food from sticking and tearing, which can ruin your grill marks.
It also helps create a better sear and enhances flavor. Many grilling tips recommend this vital step.
4. What is a grill press and how does it help in creating standout grill marks?
A grill press is a heavy, flat tool placed on food while grilling. It ensures direct contact with the grill grates for more defined grill marks.
This tool is essential for achieving those eye-catching marks!
5. Is flipping food only once really necessary for achieving standout grill marks?
Yes, flipping food once is crucial for a consistent sear on both sides. This method creates bold and even grill marks.
Constant flipping disrupts the grilling process and leads to uneven results.
6. How can using a well-seasoned grill improve the appearance of your grill marks?
A well-seasoned grill adds flavor and prevents sticking. This leads to cleaner and bolder grill marks.
It also provides a consistent cooking surface, making perfect marks easier to achieve.

